Showing posts with label Halloween. Show all posts

Monday, October 31, 2011

Happy Halloween: Meringue Ghosts and Pumpkins

I had grand plans for what I was going to make for the office Halloween party. We have a contest every year and, being on of the resident bakers in the office, I feel like I need to make something impressive. When it came time to actually make the fantastic cupcakes I'd planned, I bailed. On Friday I saw a picture on Twitter posted by Karlynn Johnston of Kitchen Magpie (@KitchenMagpie) of the adorable meringue ghosts she was making for her Halloween party. Instantly, I changed my plans and decided to make these instead.


Martha Stewart has a Halloween recipe on her site for meringue bones. I used that recipe to make these ghosts and also some pumpkins (that don't really look like pumpkins). 

Meringue Ghosts
Using Martha Stewart's Sweet Bones recipe 
6 large egg whites (I used 7)
1 1/2 cups sugar
1 teaspoon vanilla (my addition)
  • Preheat oven to 200 degrees. Put egg whites and sugar in the heatproof bowl of an electric mixer. Set bowl over a pan of simmering water; whisk constantly until sugar is dissolved and mixture feels warm to the touch, about 5 minutes.
  • Return bowl to mixer, and fit mixer with the whisk attachment. Beat on high speed until very stiff peaks form, about 8 minutes.
  • Transfer meringue to a pastry bag fitted with a 1/2-inch plain round tip, such as a Wilton #1A . Pipe ghost shapes onto baking sheets lined with parchment paper. Bake until crisp throughout, about 1 hour. Let cool completely on a wire rack.

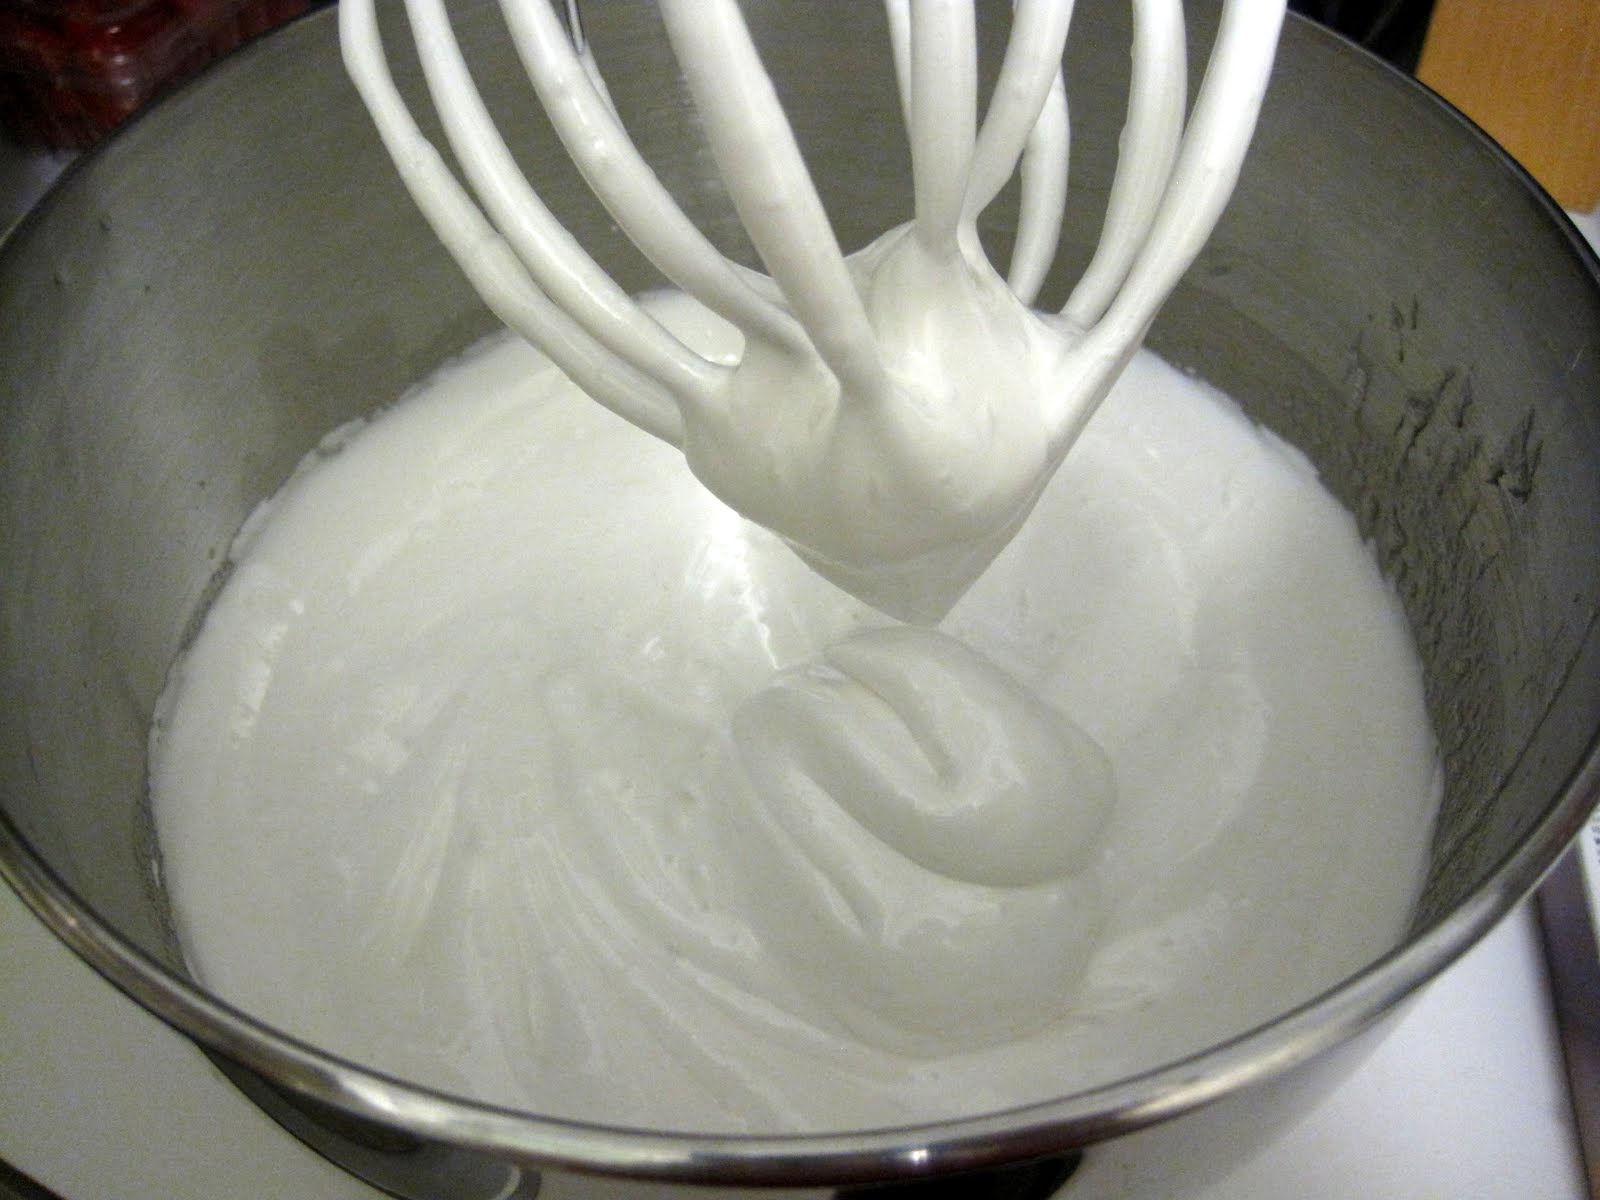
About half way through the whisking. Still pretty soft peaks.

After the full 8 minutes on high speed. Nice and stiff.

Decorating supplies - food coloring, candy sticks, piping bags, chocolate chips, and chocolate covered sunflower seeds

I didn't have a big enough round tip so I just cut the end off the piping bag. For the pumpkins I used a Wilton 1M tip.

Pre-decoration ghosts


Lesson learned today - don't try to make white meringue orange using normal liquid food coloring. I can see why the chefs on TV recommend the gel coloring. What I made was really a salmony pink color. I think the wonders of photo editing let me make these look remotely close to orange. 
 
Pumpkins. Hey, I tried.

Slightly peachy looking pumpkin.

Wish me luck in the contest. I think I'm going to need it!

Did you make any treats for Halloween this year?

Wednesday, October 26, 2011

Wordless Wednesday: Halloween Past

A blast from Halloween Past - Eyeball Cake

Thursday, October 6, 2011

Chocolate Covered Peanut Butter Treats

As I've mentioned here before, I love chocolate and peanut butter and I love Resse's Peanut Butter cups. Every holiday season they come out with a different shape to celebrate the season. Pumpkins for Halloween, trees for Christmas, and eggs for Easter. There's something about the chocolate to peanut butter ratio of these treats that makes me love them just that much more than regular peanut butter cups.


I share this love of holiday peanut butter shapes with one of my previous coworkers (hi Lesley!). We used to pick up extras when we saw them to share with the other. While these treats are super delicious, they're not always that easy to find around here.


That's why, when I saw this recipe link on Serious Eats the other day, I knew I was going to have to try them for myself. Unfortunately, the only pumpkin cutter I could find was way too big for these so I had to settle for my other festive shapes (owls and bats) and a random flowery shaped thing. The recipe follows below.

Homemade Chocolate Peanut Butter Pumpkins
slightly adapted from Miss Make via Serious Eats

1 cup creamy peanut butter
1/4 cup butter, softened
2 cups unsifted powdered sugar
12 oz chocolate chips (I used half semi-sweet and half milk chocolate)
1 tbsp shortening 

In a large bowl mix together peanut butter, butter and powdered sugar until crumbly. 
 
  Turn out onto a cutting board and knead until it comes together and you feel like it can be rolled out.
 Roll dough out on a parchment lined surface to a generous 1/4" thickness. Using a small cookie cutter, cut out your shapes. Use whatever shape you've got - I had flowers, owls and bats. Gather the scraps together and roll out again. Continue until you've used all the dough.
 Place the cut out shapes in the freezer. Meanwhile, in a glass bowl (or over a double boiler) melt chocolate and shortening in the microwave 30 seconds at a time until smooth and liquidy. 
 Using a fork, dunk each frozen pumpkin in the chocolate, shaking off the excess. Place the dipped shapes on a parchment or wax paper lined baking sheet and refrigerate until set. 
 The finished product should look something like this. 

These were delicious. So chocolatey and peanut buttery and so soft and melty. I really enjoyed them and they were pretty easy to make. They took a little longer to get together than I thought they would but it was worth it. My coworkers seemed to like them. I had at least one request for the recipe and that's always a good sign. The only issue I had with them was that they got really soft after a short time out of the fridge. If you aren't planning to serve them fairly soon after they come of out the fridge I would suggest maybe adding a little bit of wax to the chocolate to help keep them firm. I will certainly pull these out for the next major holiday. 

Do you have a favorite holiday version of a classic treat?
Related Posts Plugin for WordPress, Blogger...